This is part of a small crib-size quilt, made with die-cut tumber blocks:
Showing posts with label tools. Show all posts
Wednesday, February 8, 2023
Work In Progress Wednesday - Tumbler Quilt
Tuesday, February 2, 2016
Tool Talk: Binding
There are all manner of helpful tools for keeping your marathon lengths of bias binding clean, tidy, and at the ready, from winding cards to wooden spools you wear around your neck. I am a combination of too lazy and too cheap for any of those - I'm not coordinated enough to wind my binding around a spool or card as I iron (I can just see myself getting halfway done, then knocking the spool off the cupboard, watching helplessly with iron in hand as it unrolls across the floor); nor am I keen to spend not inconsiderable dollars on a tool I might not like - that money could be used for vital thread!
Instead, I fold my binding in an accordion stack as I iron, then tuck it all into a clean tin can. Standard 16 oz cans work well for lap and toddler quilts, 32-oz tomato cans for something bigger:
There's my binding - at the ready without being entirely in the way, with a solid little bottom that's surprisingly resistant to being knocked over.
Tuesday, November 10, 2015
Tool Talk - Templates and Washi tape
I go through phases where I alternate between factory style cutting of strips and blocks with no need to pay attention to much more than the grain of the fabric and fussy cutting focal pieces like the world will end if I don't get that cartoon character centered just right.
I use plain Dritz template plastic, which has a good weight and is easy to see through - and with a little washi tape, I can make sure I only bring home just the right fabric!
After cutting your template, measure in 1/4" (or whatever will be your seam allowance) and mark the plastic - Sharpie pens, with their extra fine point are great for this and have the bonus of wiping clean quite easily. Sometimes they wipe clean before you are ready, so handle with care!
With this handy tool in hand you will make sure you pick prints that won't get eaten up in your seam allowance or be too small for your intended block.
I use plain Dritz template plastic, which has a good weight and is easy to see through - and with a little washi tape, I can make sure I only bring home just the right fabric!
After cutting your template, measure in 1/4" (or whatever will be your seam allowance) and mark the plastic - Sharpie pens, with their extra fine point are great for this and have the bonus of wiping clean quite easily. Sometimes they wipe clean before you are ready, so handle with care!
Then it's just a matter of using some of that leftover washi tape you bought when it was all the rage, lining one edge up with the marked seam allowance and folding the excess over the edge:
Tuesday, April 2, 2013
Tool Talk - Clover Wonder Clips
It seems like everyone else in the world already has Wonder Clips, but as with so many things, I'm a slow adopter. I'm partial to Clover products, because they always last for just about forever, but have happily gone through quilting life with my office-supply store binder clips (which are much cheaper and easier to come by).
Thanks to the Missouri Star Quilt Co.'s recent generous gift with purchase offer, I am now the proud owner of a pack of 10 clips.
The primary selling points from the manufacturer seem to be that they are light, bright, have a smooth flat bottom and are marked with 1/4" lines. There's also a newer larger 'Jumbo' Wonder Clip, but I have only the original.
I've used them for hemming pants, matching seams between chunky jersey knits and cotton shirtings, and clipping ribbon to felt-backed bunting:
As to their status as an improvement - I'm sold! They fill every benefit their manufacturers claim - they are small, convenient, strong, and while I have yet to use the markings on the reverse as intended, I do find them just the right size for clipping over a wrap-around binding. They also have a benefit over regular binder clips in that they are smooth - my fingers don't become tender or sore after repeated opening and closing of the clips. Of course, as I like to press and clip the binding to a whole quilt at a time:
I'm afraid I won't be making an investing in several hundred of them just yet. I will definitely picking up a pack here and there everytime I find them on sale - definitely worth the price!
Thanks to the Missouri Star Quilt Co.'s recent generous gift with purchase offer, I am now the proud owner of a pack of 10 clips.
The primary selling points from the manufacturer seem to be that they are light, bright, have a smooth flat bottom and are marked with 1/4" lines. There's also a newer larger 'Jumbo' Wonder Clip, but I have only the original.
I've used them for hemming pants, matching seams between chunky jersey knits and cotton shirtings, and clipping ribbon to felt-backed bunting:
As to their status as an improvement - I'm sold! They fill every benefit their manufacturers claim - they are small, convenient, strong, and while I have yet to use the markings on the reverse as intended, I do find them just the right size for clipping over a wrap-around binding. They also have a benefit over regular binder clips in that they are smooth - my fingers don't become tender or sore after repeated opening and closing of the clips. Of course, as I like to press and clip the binding to a whole quilt at a time:
I'm afraid I won't be making an investing in several hundred of them just yet. I will definitely picking up a pack here and there everytime I find them on sale - definitely worth the price!
Tuesday, November 6, 2012
Tool Talk: Storage
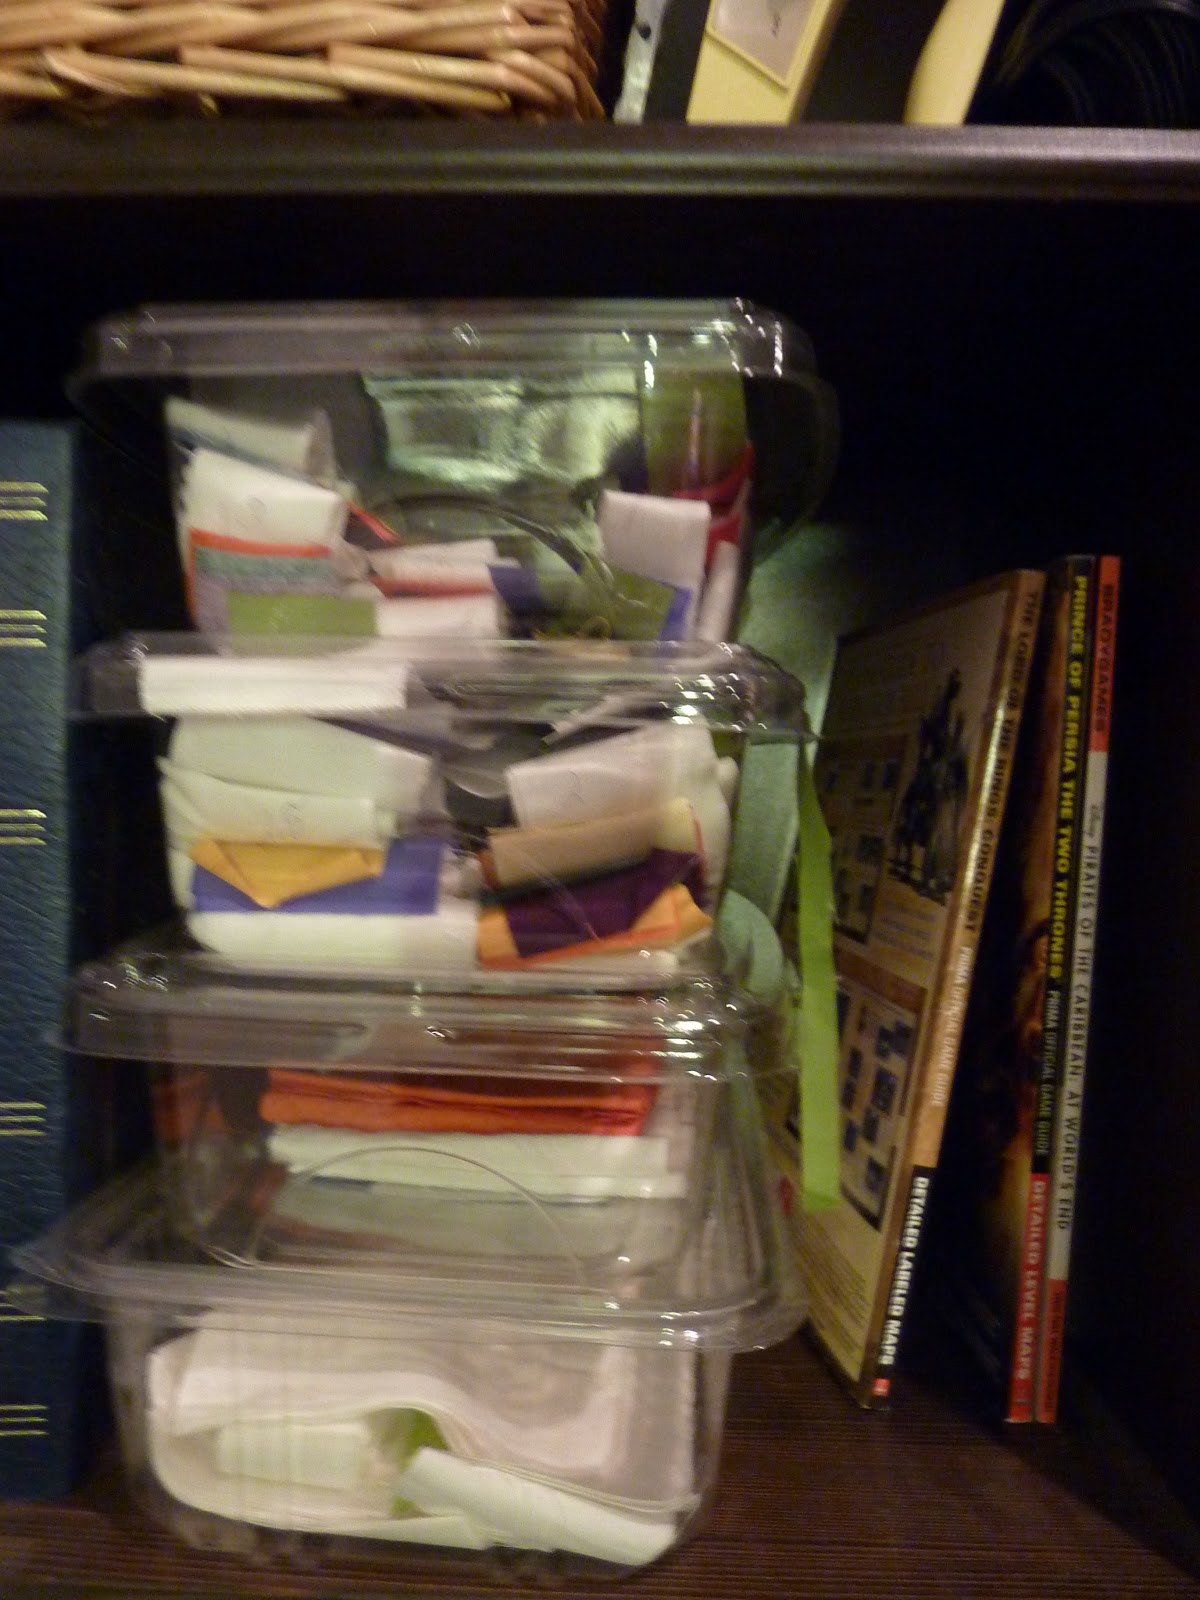
Storage is kinda like colour theory - everyone has a theory, some are quite complicated, and it's guaranteed to send some quilters to cower in the nearest corner with a salty/sweet treat and an age-appropriate beverage as they contemplate the overwhelming mess that is the-room-formerly-known-as-the-dining-room. I'm not a famous quilter, so I don't have an awesome room of coordinated storage to show you. I would be glad to share what works for me, though.
One - nearly free plastic bins:
Another nearly-free bin, a clementine box:
Two - commercial storage:
I do not have terribly much commercial storage, but one of my favourite pieces is the ArtBin Super Satchel latch-top box. These can get to be a bit pricy, but at 15" x 14" x 3.5" I find they are just right for storing large 12.5" and 10.5" blocks. Also, you can periodically find seasonal colours (like the glittery magenta - I have no idea what season that was!) at less than half-the regular price if you check the clearance section at your local chain craft store. If you like your storage to be coordinated and match each other, then you'll need to save up and try to find them on a very good sale!
Monday, September 3, 2012
Blog Hop Party 2012 Pindows Tutorial Part 4 - Quilting
If you're playing along with the tutorial in real time then you should have a finished top, ready for quilting. Which is kinda madness unless you've just forsaken your family, dining, sleep, or other regularly scheduled responsibilities for the last week or so.
Anyhow, if you've never made a quilt before, this may be the most onerous part of the whole process. Your sewing machine probably came with a bag of bits something like these:
Which is funny, because if your sewing machine drawer looks anything like mine, it only has room for a couple of feet and some bobbins (and band-aids, oh, yes)
And unless you bought a machine advertising itself as a 'quilter's dream' or some other such name with 'quilt' in it, none of them will actually help with the 'quilting' part of quiltmaking. So you will need to go out and buy additional accessories, on top of the few hundred bucks you have already spent on a machine, fabric, thread, quilt-related snacks, tea, etc.
For free-motion quilting, you'll need a stippling foot. Depending on your part of the country and the primary market served by your local sewing machine retailer, it may also be called an embroidery or darning foot, and should look something like this (less the stout pin on the left holding it up):
| free-motion quilting foot |
Your next option, invaluable for straight-line and cross-hatch quilting, is the walking foot. As with the free-motion foot, there is an arm that hooks over the screw/pin that holds your needle in place. In the case of the walking foot, this angles the foot up when the needle raises, but does not completely lift the foot off the quilt in the same way as the embroidery foot. This foot is used with the feed dogs engaged and you are responsible for shifting the heft of the quilt so that the stitching stays in a straight-ish line, but the stitch length is set on your machine.
| walking foot |
The type of foot you need is determined by what kind of quilting you need to accomplish, a decision that is informed by several other factors including:
- pattern of the top
- what will be the quilt's ultimate use
- what type of batting you have chosen
As to the pattern of the top, you can get away with stippling or cross-hatching most patterns, but some just sing when they have a particular style of quilting. The Irish chain, for example maintains an old-fashined charm when it has straight-line quilting on the diagonals; and Hawaiian quilts just wouldn't be the same without hand-stitched echo quilting.
The ultimate use and batting selection go hand-in-hand in helping determine how to quilt your piece. The heavier the quilting the less warm a quilt will be, since there will be fewer 'pillows' between stitches to gather body heat and insulate the user. If your quilt is going to be a summer quilt then you can use a flannel lining instead of batting and little or no quilting. If the quilt is to be a decorative bed runner or throw on the sofa and not a primary covering for winter nights then heavier quilting won't lead to any discomfort. If it is to be a primary source of warmth, then you'll want to leave lots of space between stitches.
Having determined your ultimate use, you can then read batting labels to find out which batting will be best for your purpose - some batting can be quilted as much as 10" apart without bunching or bearding, other batting needs to be quilted no more than 3.5" apart, otherwise you'll have a very lumpy quilt after ten or twelve washings.
A final consideration is the thickness of your batting in relation to the size of your quilt and the size of your machine. Quilting without a frame requires you roll up your quilt to be able to stitch down the middle . . . . you don't want to be using extra-loft batting for a twin-size quilt if your machine has a 4.5" throat . . . .
A few practical words about quilting: take your time, start from the middle and take a break when you become frustrated. Always start with a fresh sharp needle, a full bobbin, and check your needle position is correct for the foot you are using. Make sure the feed dogs are in the appropriate position.
If you are free-motion quilting, check your tension from the bottom stitches after your first foot or so of stitching. Remeber that free-motion stitching is a little counter-intuitive, since the speed you manually move the fabric is not directly related to the speed at which the needle is moving up and down. It takes practice, but generally you'll find that having the foot control between half and two-thirds depressed will move the needle fast enough for the speed at which you will move the fabric. If you move the needle too slowly you are more likely to break the needle, since you'll be creating extra tension on the horizontal axis.
With the walking foot you'll be using the feed dogs and the automatic stitch length, but you will need to keep an eye on the weight of the top. Keep the top moving freely, so that it doesn't drag or pull on one side.
And my last little tip of the day, keep a pair of tweezers in your sewing apron, drawer or tool caddy on the machine. Pulling weeds is never enjoyable, but a good pair of tweezers will make it easier!
| pulling weeds |
I couldn't leave well enough alone, so I used both straight-line and free-motion quilting for my finished sample. Using the walking foot, I quilted on either side of the sashing, starting with the main 2.5" strips, then the 1.5" strips. Then I changed the foot for the stippling foot and stippled only in the white patches of the pinwheel blocks. If you want to be high-falutin' you can explain this to your non-quilty friends as a using texture to create an alternative expression of negative space, since negative space is usually a solid or blank, and in this case the negative space of the texture is actually the printed patches. It also makes the prints pop!
There's a few short hours left of 3d September, if you have not yet entered to win a quilt kit to make your own pindows quilt, do so on this page.
Friday, August 31, 2012
Pindows Tips part two
Welcome Back! So far we've had tutuorial steps on completing a pindows block with four pinwheel patches and 1.5" sashing. Our next step will be to show the layout and final sashing/borders. But first, time for a break to talk about tools!
The design wall can be a great help, particularly when making a scrap quilt, as it gives you a good chance to step back and see if your lights and darks are playing well together. As in this picture, it also gives you a chance to decide what kind of quilt you're making (obviously I went with pindows, with extra sashing, instead of what you see here!):
There are some fairly posh design walls you can buy that feature extra thick flannel and a pop-up frame, but that's not something you need to be a great quilter. Some of my favourite quilters (who are popular enough to have their own books in print!) still lay their quilts out on the floor, particularly the large ones. Design walls can vary from the basic (like using the batting you bought for the middle of your quilt on a shower rod as a design wall) to the extravagant (like buying a $200 pop-up model that comes with it's own stand, case, and famous designer name).
For a design wall that hangs on the wall, I like to use Warm & Natural needled cotton batting. It's thick, strong and has a neutral oatmeal/beige colour that doesn't seem to detract from anything I've put up yet. Any strong fuzzy fabric will do - batting, heavy duty flannel, even the flannel back of a vinyl tablecloth. (The only caveat I will offer to the tablecloth method is to make sure you buy a good one - cheap ones don't have a thick enough layer of flannel fuzz on the back to work well.) If you have just a little wall space that you don't want to permanently turn over to quilt design, you can hang your design material with 3M (or similar brand) repositionable hooks and binder clips, like so:
| temporary design wall with removable hooks |
If you have bookshelves all over the place (sheepishly raising hand and looking at the floor) you can also put them to double duty as design surface. The pic below shows a portable roll-up design surface made from a 1" core of pvc piping, cut to length, to which a flannel-packed tablecloth was affixed with duct tape. I can unroll it and rest it on the top edge of some larger books jutting out from the top shelf, and when I don't need it I can roll it back up and tuck it on the back of the top of the bookshelf.
| Portable roll-up design wall made from pvc and flannel-backed tablecloth |
A stout pin can do well to make sure your seam stays tucked under the foot:
Likewise, a clean toothpick - they're not just for checking to see if your cake is done:
And if you don't, for some reason, have toothpicks laying about the house, you may find that your creative endeavours have been so great it's simply not possible to also make your family dinner and you'll be able to pick up a few toothpicks on the way out of your local Italian restaurant.
And that's part of how quilting gets it's reputation of being such an expensive hobby!
Monday, February 27, 2012
Tool Talk - Accuquilt Go! 2.5" strip cutter
This is probably contra-indicated by my User's Manual, so it's a good thing I haven't read it yet. I love the trusty nine-patch, but always wind up with a few wonky rectangles with crazy curves from my tension issues. Placing the three-colour strips perpendicular on my 2.5" cutting die solves that problem:

Even better - using 22" strips from a fat quarter yields 8 perfect rows, using the 3-strip cutter: just sew your three strips together, then cut down into two 7.75" sections and lay the two large and one small (6.5") section across the die, run it through the cutter and voila!
Monday, February 13, 2012
Tool Talk - Pressing Matters
If you didn't start out life as a quilter, pressing may be one of the hardest skills to learn (next to hand-applique, of course!). It's not that pressing is particularly difficulty in itself - it is, after all, just pressing down with the iron. We perform a similar action dozens of times in a day without thinking about it - pressing the top slice of bread down on a sandwich, pressing the plunger on a french press coffee maker, pressing the gas or break pedal in a car.
So why is it, the first time I had an iron in my hand and had to press a seam I gave it a great sweeping push that distorted the bias? Because I was ironing, not pressing. After years of sweeping the creases out of blouses and trousers with my iron, I had to relearn how to 'press'.
My favourite iron to use for quilting is a small travel iron. For years I used a little yellow GE iron my mother got at the Ft. Devens PX in 1974. That little girl got hot and stayed hot, even after she developed an unfortunate leak in her water reservoir. That didn't stop me from using my favourite iron - the end came when I knocked her off the table and cracked her footing. My husband decided if the plastic was old enough to fracture then the wiring was in an unknown state and I should get a new one. So now I have a petite little Conair travel iron who works just as wonderfully.
The iron is not the real point of all this blather, though - the ironing surface is. For most of my piecework pressing I don't use a conventional ironing board with a punched metal frame and fabric cover, I use a pressing board. There are two fairly popular pressing boards out, one by Omnigrid, the other by June Tailor. I use the June Tailor model, which features a pressing side and a cutting side, both gridded:


There are a couple of great benefits to this tool - besides the obvious value of marked 30-, 45- and 60-degree angles for squaring up your cutting, there's the markings for squaring up your pressing:
A side benefit is that when the soft pressing surface is down and the cutting surface is up, you can swivel the board on your work surface. I prefer this one to the Omnigrid model, since I don't generally travel with it - the Omnigrid model is not two sided, but two panels hinged along their long edge so it opens like a book. That makes it a bit bulkier, but when closed it protects both your pressing and cutting surfaces from bumps or scratches.
So why is it, the first time I had an iron in my hand and had to press a seam I gave it a great sweeping push that distorted the bias? Because I was ironing, not pressing. After years of sweeping the creases out of blouses and trousers with my iron, I had to relearn how to 'press'.
My favourite iron to use for quilting is a small travel iron. For years I used a little yellow GE iron my mother got at the Ft. Devens PX in 1974. That little girl got hot and stayed hot, even after she developed an unfortunate leak in her water reservoir. That didn't stop me from using my favourite iron - the end came when I knocked her off the table and cracked her footing. My husband decided if the plastic was old enough to fracture then the wiring was in an unknown state and I should get a new one. So now I have a petite little Conair travel iron who works just as wonderfully.
The iron is not the real point of all this blather, though - the ironing surface is. For most of my piecework pressing I don't use a conventional ironing board with a punched metal frame and fabric cover, I use a pressing board. There are two fairly popular pressing boards out, one by Omnigrid, the other by June Tailor. I use the June Tailor model, which features a pressing side and a cutting side, both gridded:
There are a couple of great benefits to this tool - besides the obvious value of marked 30-, 45- and 60-degree angles for squaring up your cutting, there's the markings for squaring up your pressing:
Tuesday, January 10, 2012
Tool Talk - AccuQuilt Go!
I mentioned that my family supports my quilting habit more than is probably appropriate (possibly because it keeps me in the house and not dragging everyone to see the worlds biggest ball of twine or lump of rock that maybe used to be a house or is maybe just a rock), and that resulted in the recent gift of an Accuquilt Go! die-cutting machine.
This is the younger cousin of the Accucut Grandemark machine you probably remember from school. That was a behemoth that took up its own desk but was great for cutting geometric shapes for math lessons, letters for bulletin board displays and other shapes just because.
One of the limitations of the original Go! dies, inherited from the Accucut, is that for efficiency of production (which, lets face it, keeps our costs lower), the die is set into a single sheet of protective foam - which means you cannot see exactly where the die edges run unless you hold the die at an angle in the light.
To solve this difficulty, and save myself a good bit of frustration, I used the technique I learned from Katrina, of Sunshower Quilts:

With my trustee Sharpie-brand metallic silver marker, I painted just inside the blade edge of each die. This way when I'm fidgeting with odd off-cuts I'll know as long as I cover the silver paint my fabric will meet its fate at the blade of the die. Since I'm hoping for some fairly ridiculous scrap-vomit quilts with these, cutting lots of odd sizes of fabric I went a step further. Having dug out my little black Sharpie, I set to tracing the shapes on template plastic, cut to fit the dimensions of the die.

This way, when I have several layers of fabric on the die I can still see whether it is, or is not, lined up correctly:

And because I cannot let a good idea lie, I ran some extra template plastic through the machine to cut templates of my diamonds, and poked holes in the corners, 1/4" in. Now when I go to make a star quilt on my machine I'll be able to mark where to stop stitching so that pesky 'Y' seam comes out well. If I ever get the hexagon block I'm going to try the same thing there!

So here's me looking forward to more geometry in my future quilts, without having to measure so many angles!
This is the younger cousin of the Accucut Grandemark machine you probably remember from school. That was a behemoth that took up its own desk but was great for cutting geometric shapes for math lessons, letters for bulletin board displays and other shapes just because.
One of the limitations of the original Go! dies, inherited from the Accucut, is that for efficiency of production (which, lets face it, keeps our costs lower), the die is set into a single sheet of protective foam - which means you cannot see exactly where the die edges run unless you hold the die at an angle in the light.
To solve this difficulty, and save myself a good bit of frustration, I used the technique I learned from Katrina, of Sunshower Quilts:
With my trustee Sharpie-brand metallic silver marker, I painted just inside the blade edge of each die. This way when I'm fidgeting with odd off-cuts I'll know as long as I cover the silver paint my fabric will meet its fate at the blade of the die. Since I'm hoping for some fairly ridiculous scrap-vomit quilts with these, cutting lots of odd sizes of fabric I went a step further. Having dug out my little black Sharpie, I set to tracing the shapes on template plastic, cut to fit the dimensions of the die.
This way, when I have several layers of fabric on the die I can still see whether it is, or is not, lined up correctly:
And because I cannot let a good idea lie, I ran some extra template plastic through the machine to cut templates of my diamonds, and poked holes in the corners, 1/4" in. Now when I go to make a star quilt on my machine I'll be able to mark where to stop stitching so that pesky 'Y' seam comes out well. If I ever get the hexagon block I'm going to try the same thing there!
So here's me looking forward to more geometry in my future quilts, without having to measure so many angles!
Monday, August 29, 2011
a little something, long sought after
One of the joys of travelling with my husband is his willingness to wander about thrift, antique and junktique shops with me. On our holiday earlier this month I happend on this gem:
A pin pot!
I've been seeking a pin pot for a while now, although I didn't know that was precisely what I wanted. All I knew was that the little lidded cardstock box I'd been keeping my safety pins in was starting to look more than a little shabby. Also: I didn't want an enamelled metal tin with a tight-fitting lid, as I wanted to get in and out quickly. (I work on some pretty thin deadlines sometimes!)
Earlier in the day before I found this I found an absolutely precious white glass FireKing dish with peaches painted on the side. It was hard to pass up, given that I love peaches in truly all their forms, even painted on glass, apparently. Alas, it had no lid, and given my kitten's penchant for pulling pins out of every receptacle - even quilts - in which she can find them, it's imperative that my pin storage device have a lid.
I'm glad I held out, because this pin pot has a lid with a perfect feature that I hadn't even recognized until I got home and put it to use. Did you notice it's handle is squared, not rounded? It balances just right on itself at about a 35-degree angle, which combines with it's inner lip to hold just enough pins at fingertip readiness!
Subscribe to:
Posts (Atom)